Welcome back to our course project example! In this session, we'll create a PHP database class to interact with our MySQL database. We will be working with MYSQL workbench. Follow along with the step-by-step guide to understand the process.
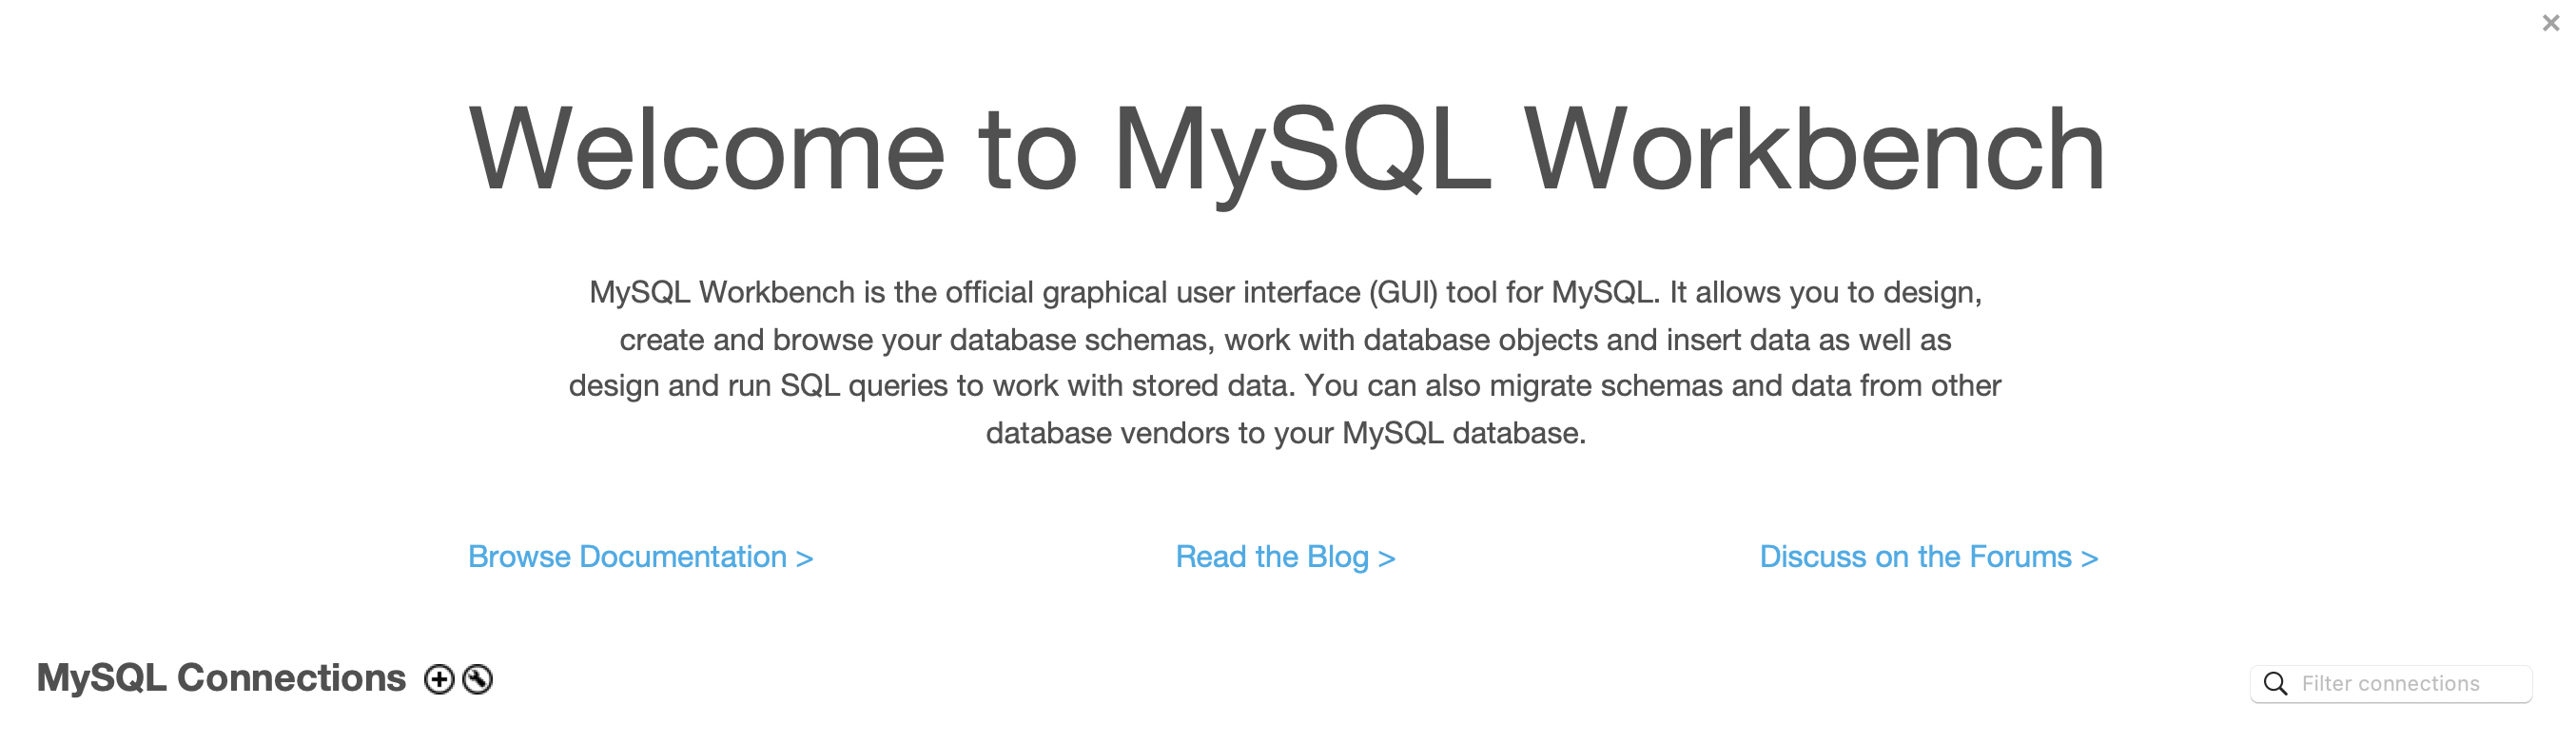
Step 1: Launch MySQL Workbench
Open MySQL Workbench on your computer. If you don't have it installed, you can download it from the official MySQL website.
Step 2: Connect to a Database Server
-
Click on the "+" icon next to "MySQL Connections" to set up a new connection.
-
Enter the connection details, including the connection name, connection method, hostname (usually
localhost), username, and password. Click "Test Connection" to ensure the details are correct, and then click "OK" to establish the connection.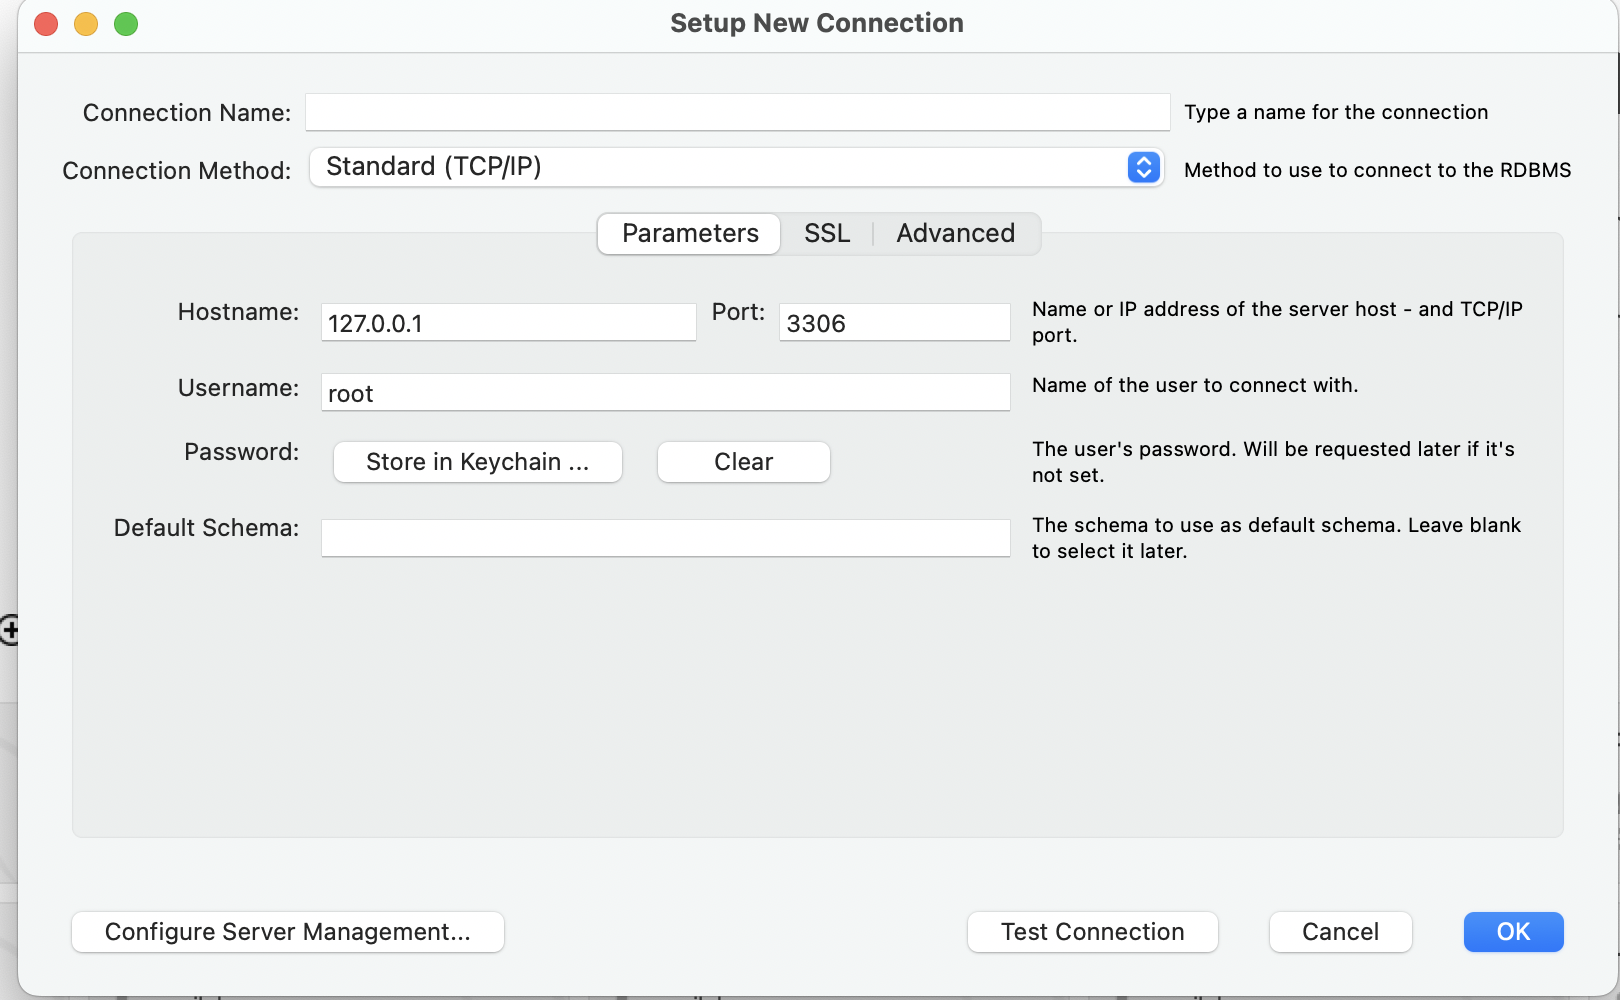
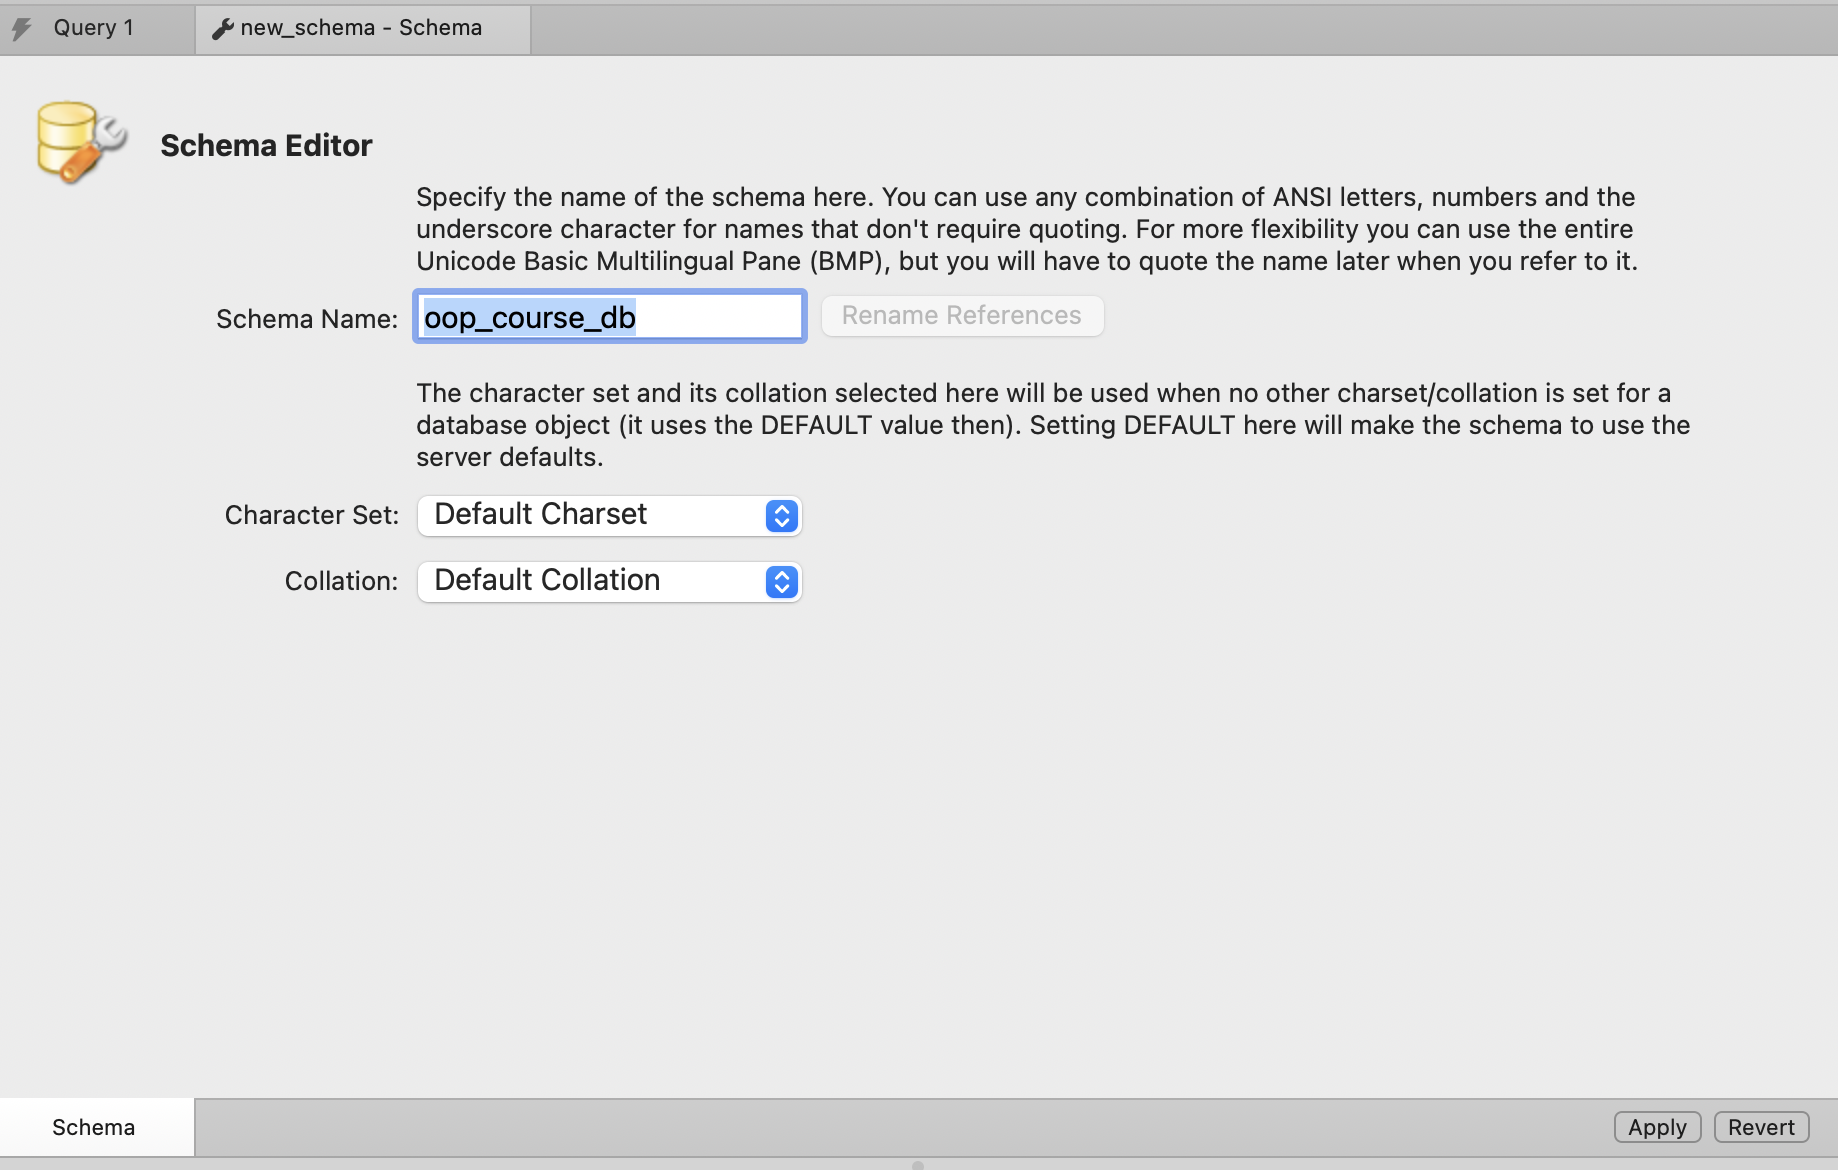
Step 3: Creating a New Database
-
In the Navigator (top bar), you'll see an option for "Database." click on it.

-
Enter the name of the database as "users" and click "Apply."
-
Once applied, click on the "Apply" button again to execute the SQL statement and create the database.
Step 4: Designing the Users Table
-
In the Navigator, under the newly created
oop_course_dbdatabase, right-click on "Tables" and choose "Create Table...". -
In the name field add
usersas the name of the table.
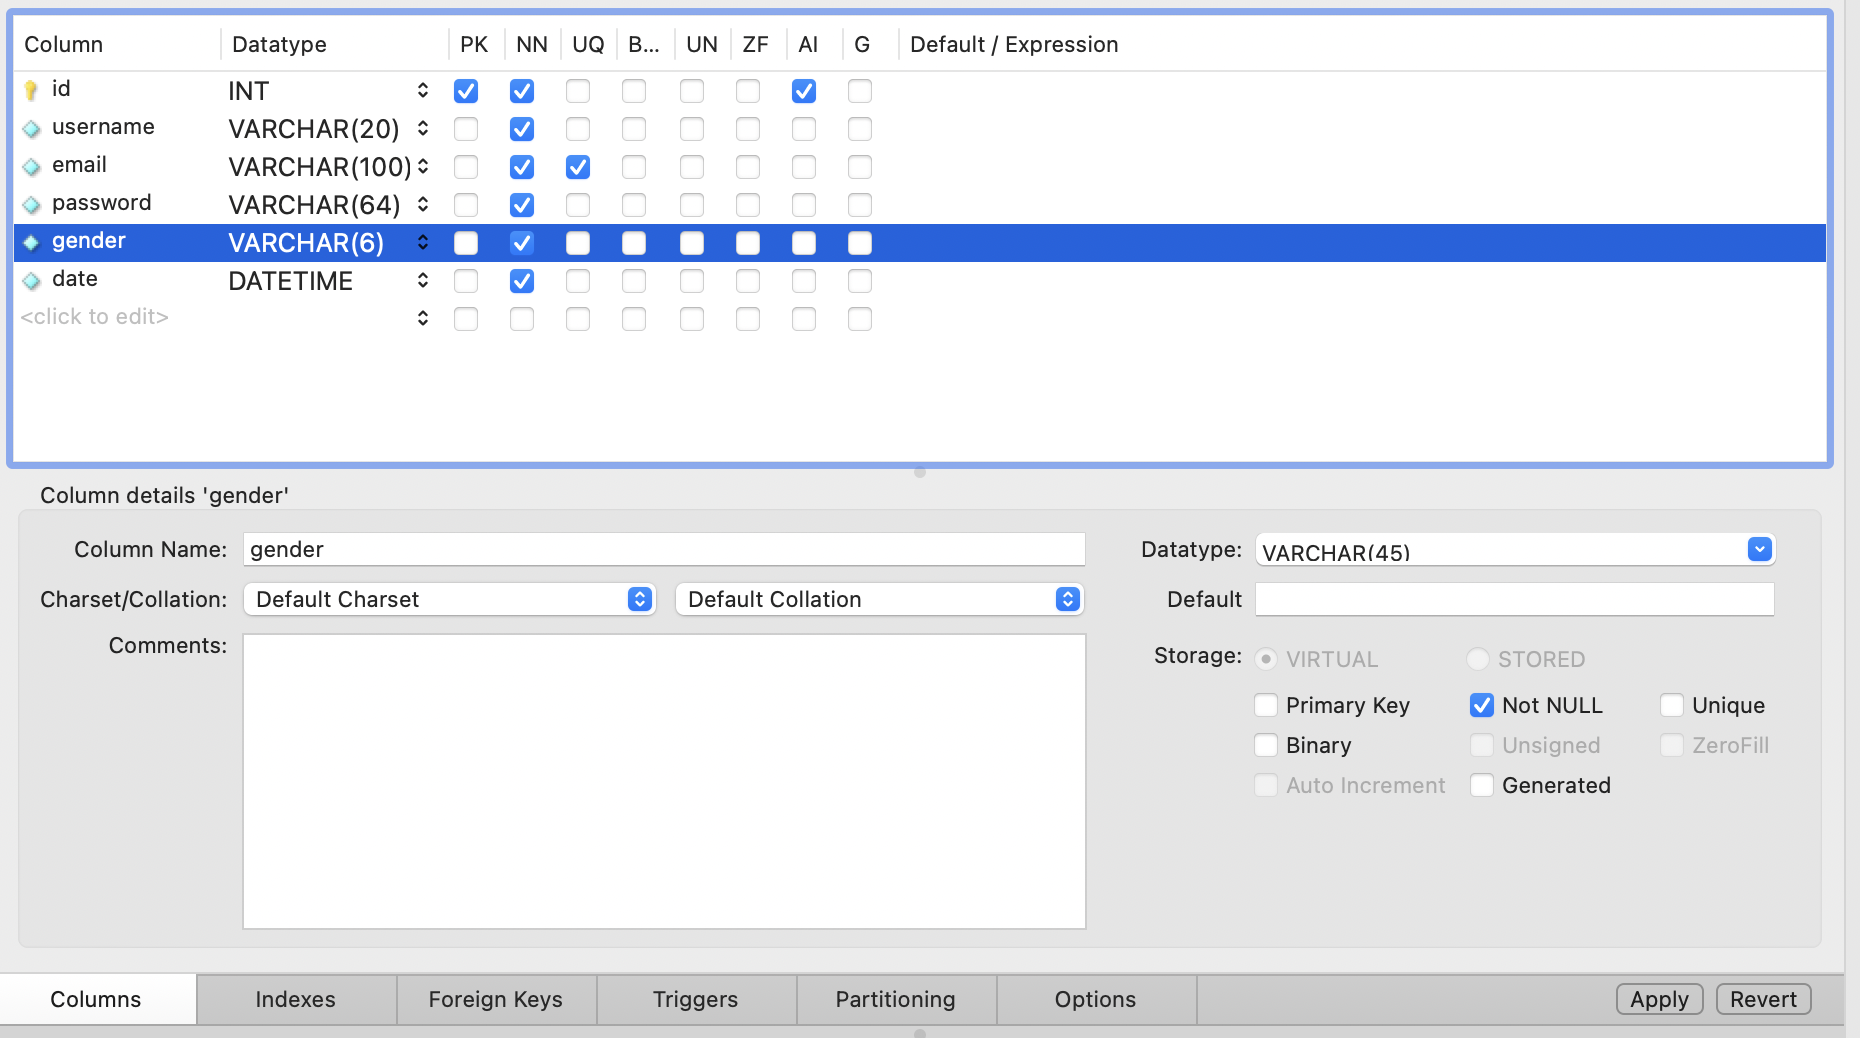
In the "Columns" tab, add the following fields:
id:
-
Data Type: INT
-
Check "NN" (Not Null)
-
Check "AI" (Auto-Increment)
-
Check "PK" (Primary Key)
username:
-
Data Type: VARCHAR(20)
-
Check "NN" (Not Null)
email:
-
Data Type: VARCHAR(100)
-
Check "NN" (Not Null)
-
Check "UQ" (Unique)
password:
-
Data Type: VARCHAR(64)
-
Check "NN" (Not Null)
gender:
-
Data Type: VARCHAR(6)
-
Check "NN" (Not Null)
date:
-
Data Type: DATETIME
-
Check "NN" (Not Null)
-
Click on the "Apply" button to save the table structure.
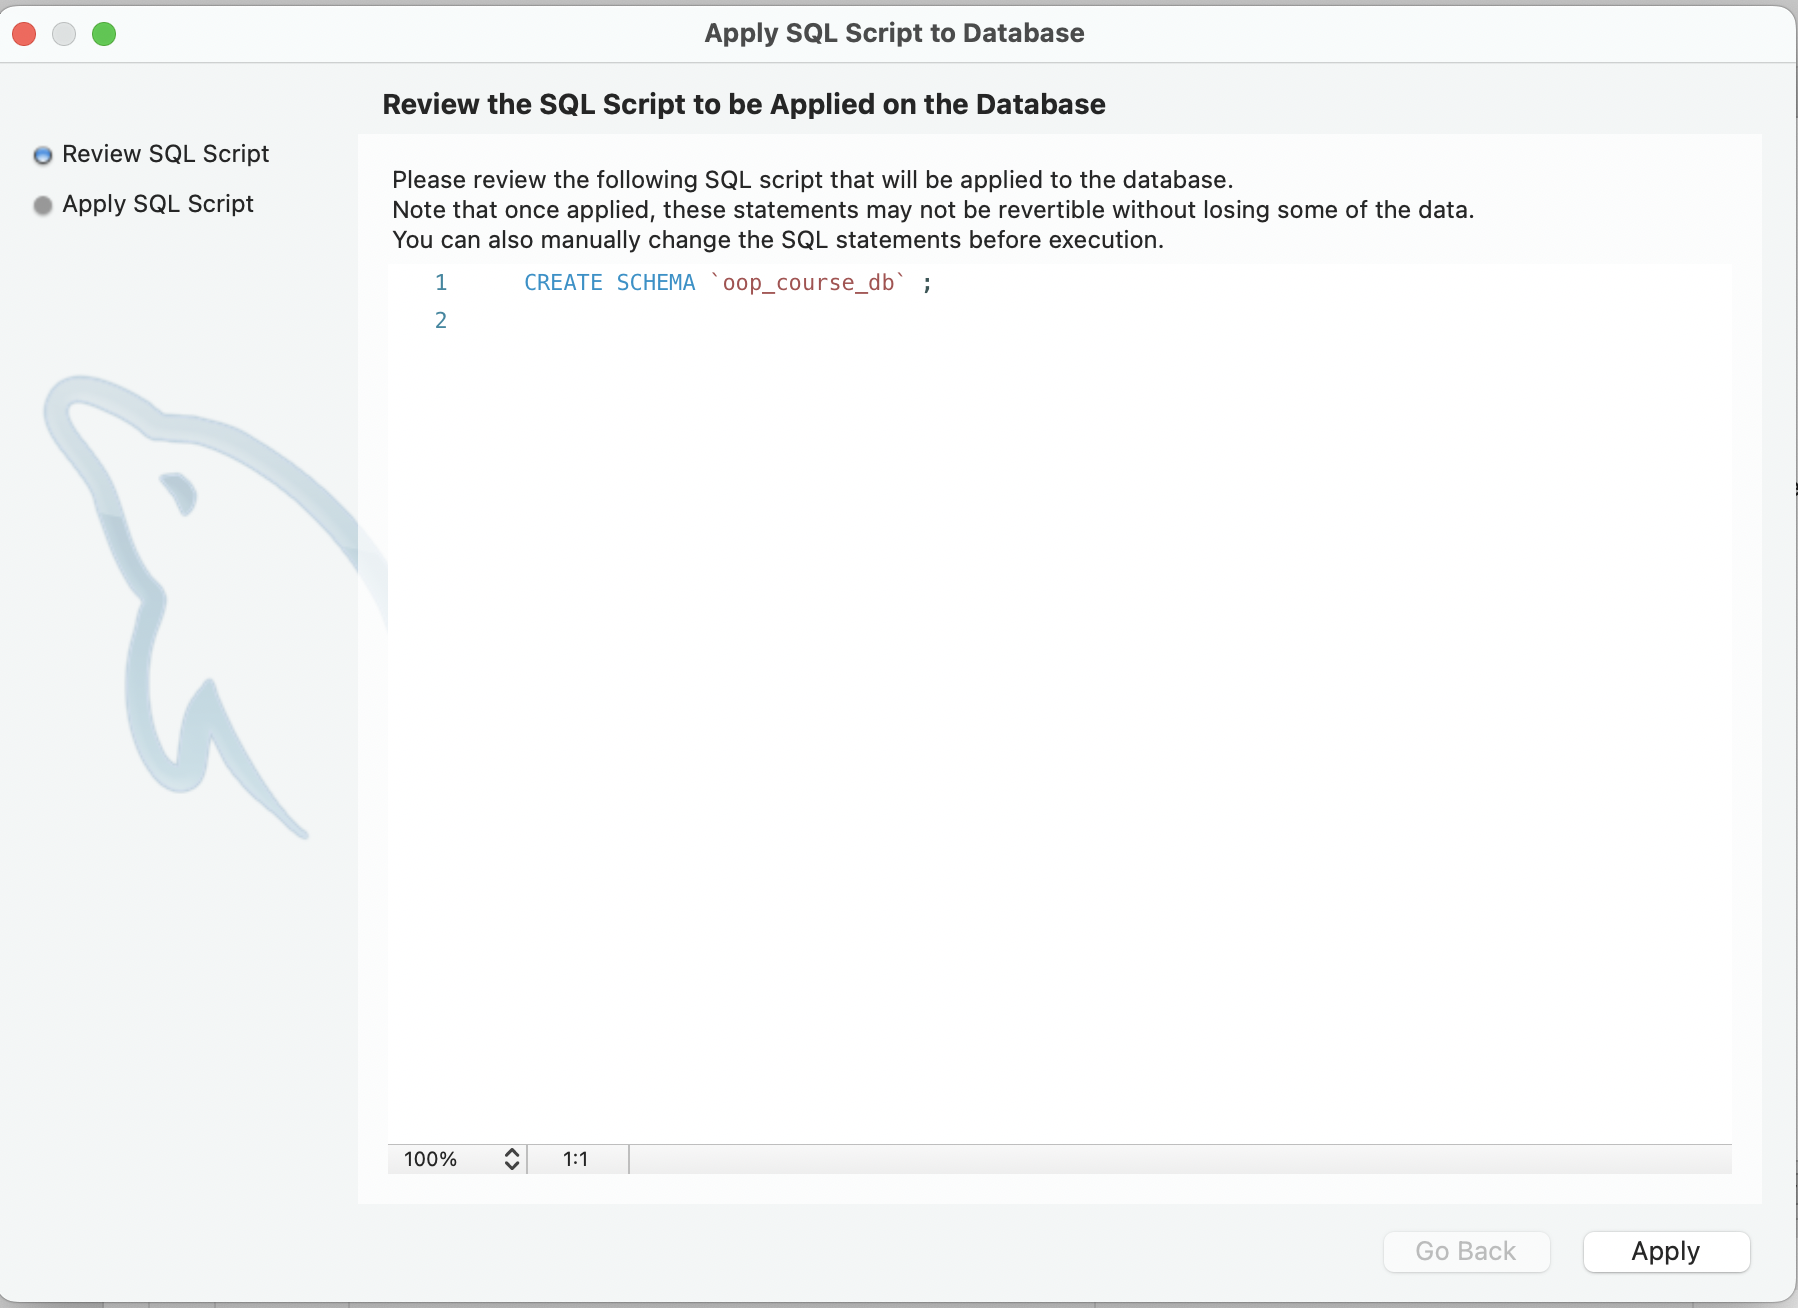
Step 5: Review and Apply Changes
-
Ensure that the script aligns with the specifications provided above.
-
Click on the "Apply" button to execute the SQL script and create the
userstable.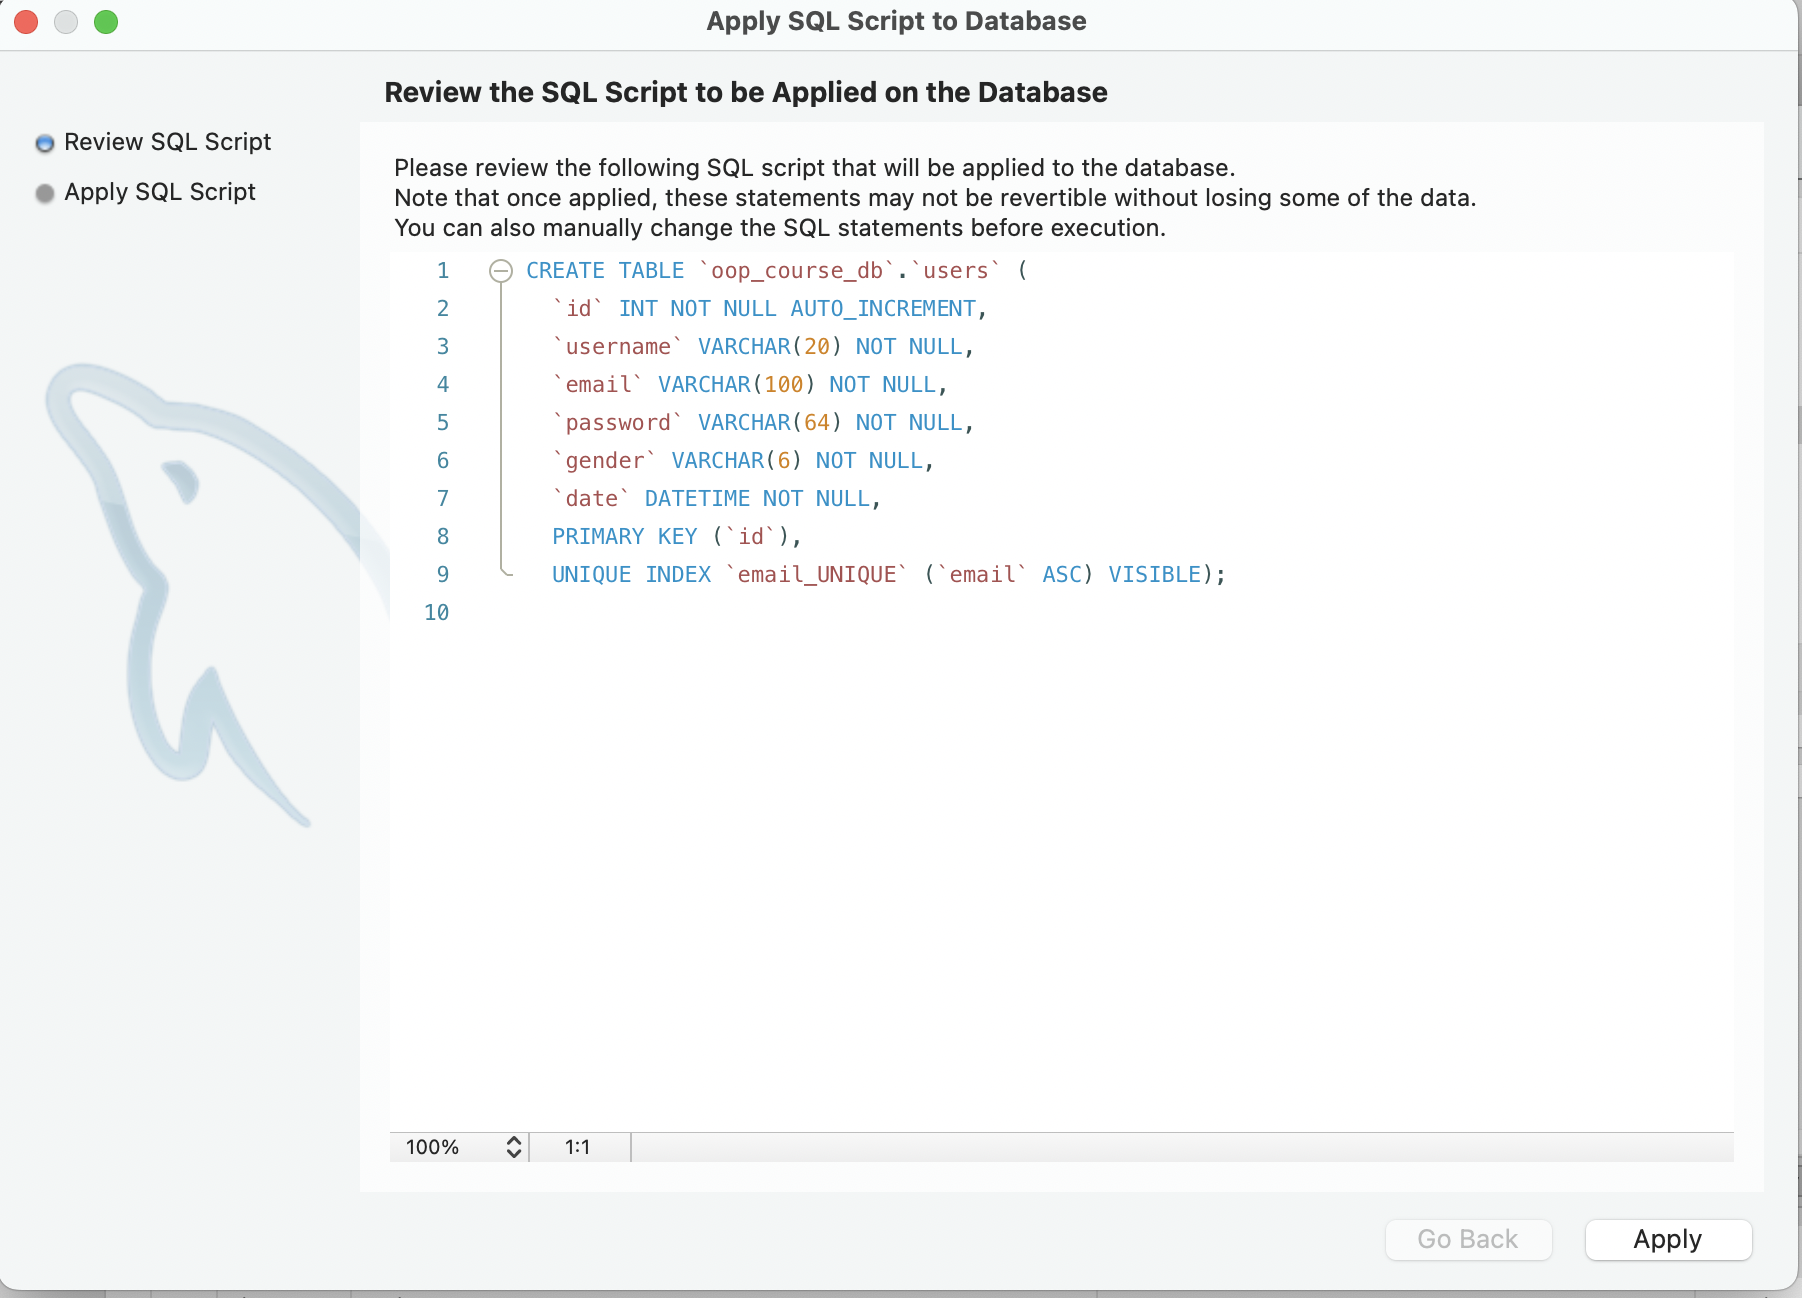
Congratulations! You've successfully created a MySQL database named oop_course_db with a table named users. The table is structured to store user information with fields such as id, username, email, password, gender, and date. In the next article we'll explore how to implement and test reading from the database using this class. Stay tuned!
Comments (0)
No comments yet
Be the first to share your thoughts!
Leave a Comment